Friday evening provided an opportunity for another Volley & Bayonet engagement this time set in 1813 between the French under command of Ney and Schwarzenburg’s Austrians. Richard commanded the Austrians as Schwarzenburg while Barrie acted as Ney & Marmont and I Lauriston.
It was already late in the afternoon as Ney awaited the imminent arrival of Lauriston’s V Corps. For now he watched nervously as Marmont deployed his corps on the battlefield. Marmont’s Corps comprised three divisions. In the centre was Compan’s 20th Division supported by Lagrange’s 21st Division on the right. On the French left, and disrupted by several streams, was Friederich’s 22nd Division and d’Hurbal’s Light Cavalry Division.
Ney pondered the strengths and weaknesses of his forces. It was true the French divisions were well supported by artillery but even now after the armistice, too many troops lacked the drill of the old army. Yet while Ney pondered these problems, and the arrival of Lauriston’s Corps on his extreme left, the Austrians moved forward. Schwarzenburg it seemed was moving rapidly, intent on hurling elements of his three corps against Marmont’s VI Corps.


The Austrian centre and left comprised Gyulai’s III Armeekorps. Of these the centre contained the two largest divisions, specifically Murray’s and Hesse-Homburg’s Divisions which now advanced rapidly against Marmont. The Austrian left comprised Crenneville’s light division was echeloned back. The Austrian right comprised Reserve Armeekorps under Friedrich-Joseph Hessen-Homberg and fielded two divisions, specifically Bianchi’s Division & Weissenwolf’s Converged Grenadier Division. Like the Austrian centre it moved forward rapidly. Yet to arrive on the battlefield was the Austrian Cavalry Reserve, a further two divisions comprising Cuirassiers and Dragoons with supporting artillery.
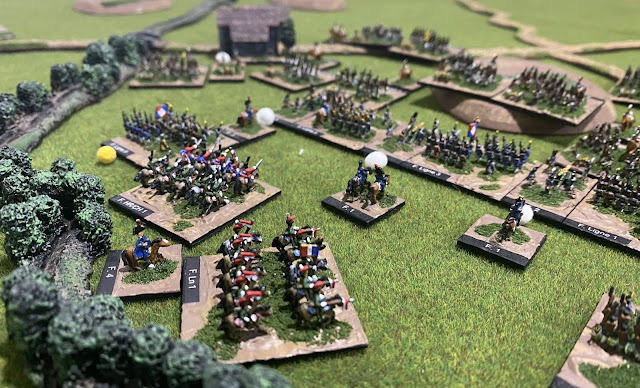
The initial Austrian attack fell against the French left, in particular against Friederich’s 22nd Division. Progressively the Austrian attacks would extend to the French centre, held by Compan’s Division. Marmont had taken the decision to deploy his divisional and corps artillery across a broad front interspersed between his infantry brigades. These batteries now provided valuable support to his hard pressed line. Yet the Austrian attacks were unceasing. Below, a view of the French left.
With Friederich’s position on the left becoming increasingly untenable d’Hurbal’s cavalry were thrown in to stabilise the situation. Below, the French cavalry are committed.

The cavalry attacks gained valuable time. Yet eventually Friederich’s division would collapse. As the French left crumbled the Austrian attacks now focussed on Compan’s Division. Despite the Austrians gaining the advantage their own casualties were mounting. First to falter was Weissenwolf’s Converged Grenadiers. This was soon followed by Hesse-Homburg’s Division. As a result by 7pm the Austrian attacks in the centre had slowed.
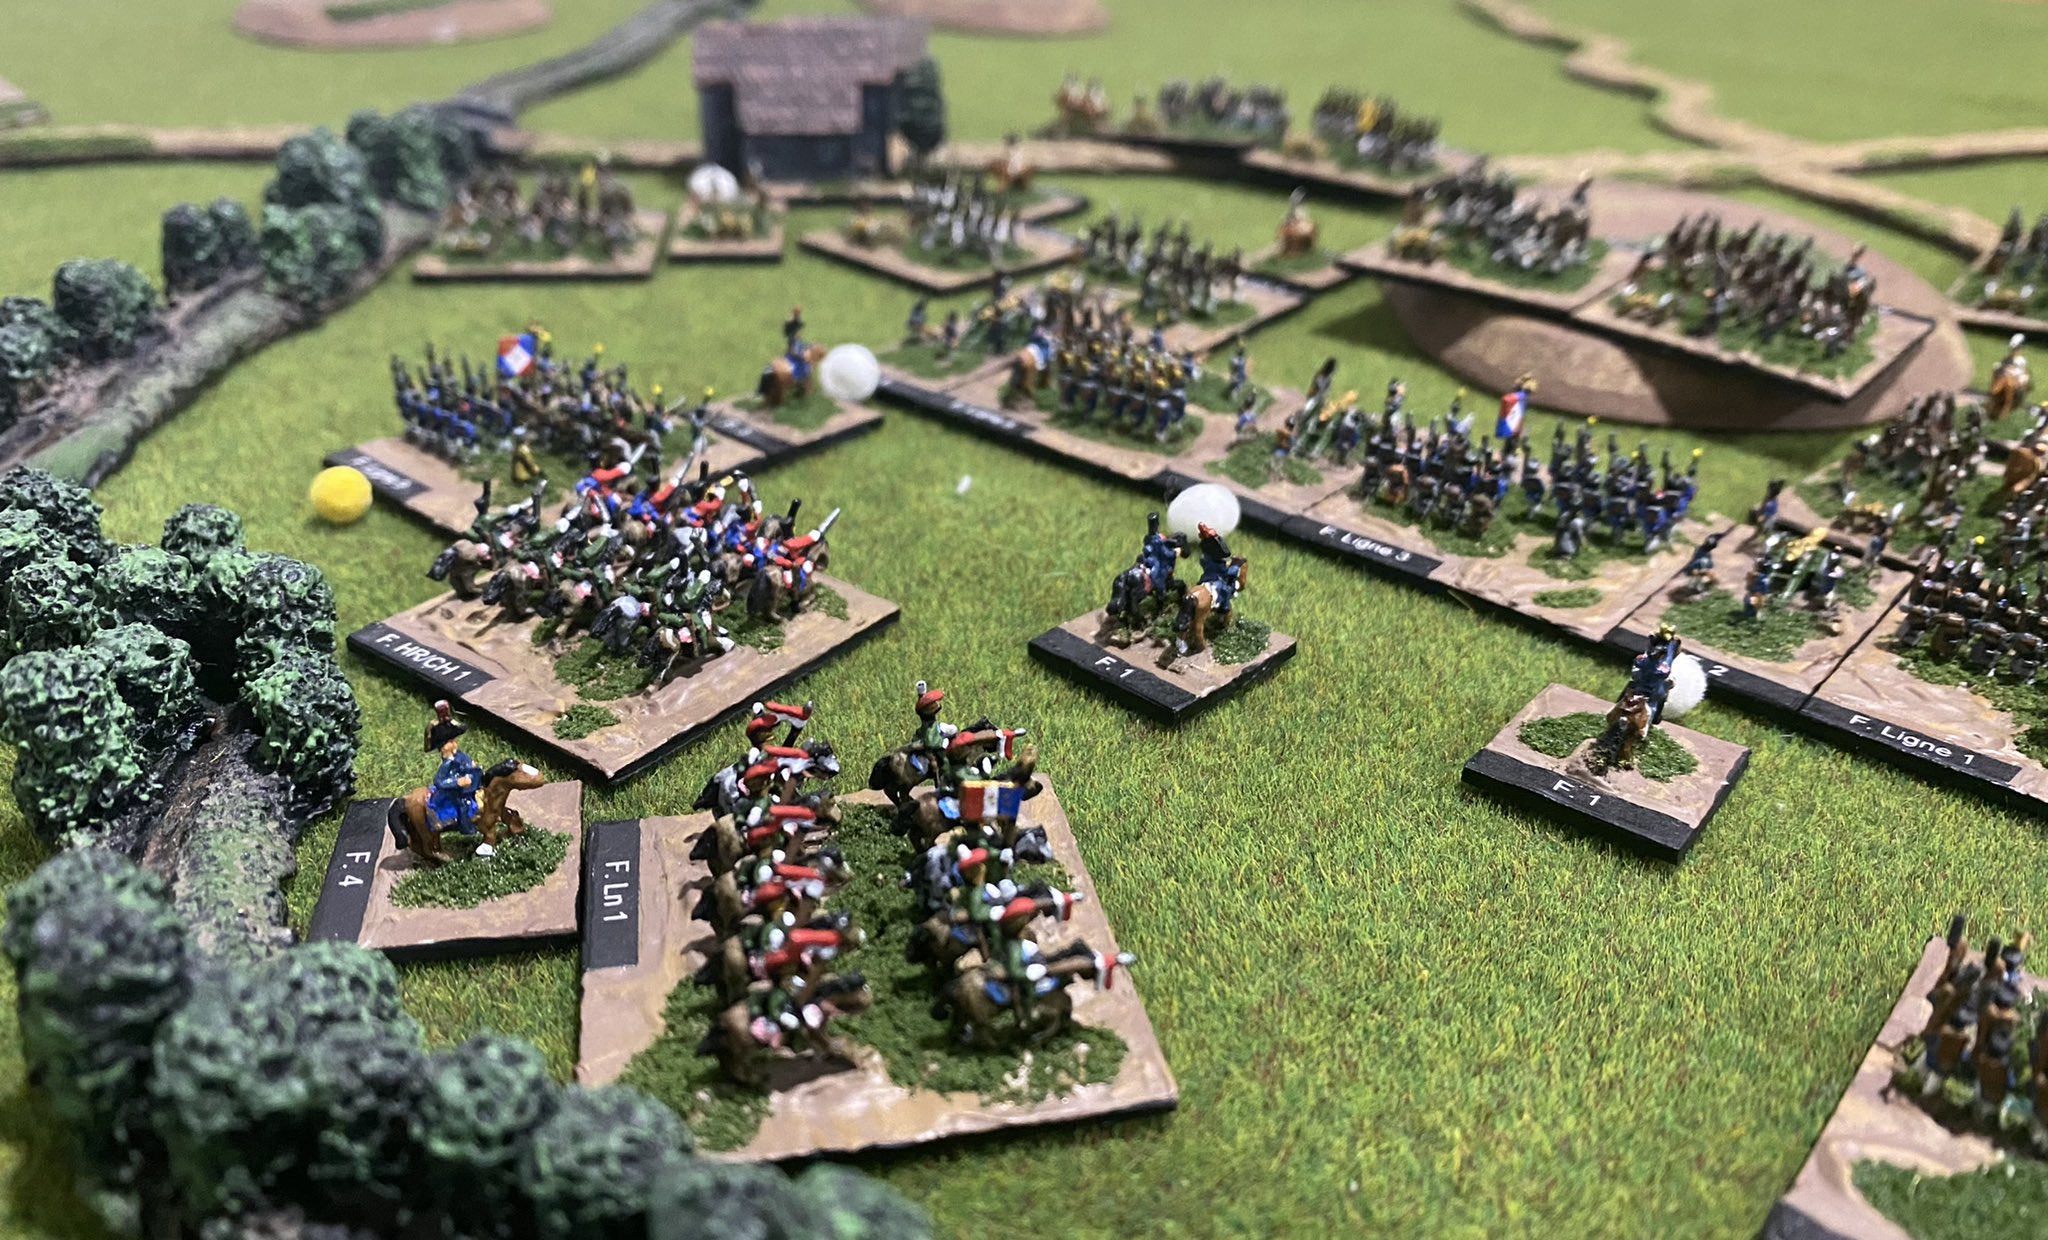
Meanwhile on the extreme French right Lauriston’s V Corps had started to deploy around 4pm. By 5pm advanced elements began to advance against the Austrian left. First Rochambeau’s 19th Division attempted to relieve the pressure on Lagrange’s Division. Lagrange’s Division was comprised mostly of provisional infantry who, while motivated, lacked training and made retrograde movement difficult.

Above, elements of Lagrange’s Division face the Austrians of Murray’s Division earlier in the battle on French right.
Further to the French right Albert’s 10th Division pressed boldly forward against Austrian Hussars who fell back under musketry fire. Below, just prior to the Austrian Hussars retire.

As the Austrian cavalry reformed two Grenzer regiments advanced pressing Bertrand’s Brigade. However, both Grenzer regiments were thrown back after a hail of musket and artillery fire and in the process crippling the Austrian offensive capability on their left.
By 7.30pm, as Curial’s Guard Division and Walthier’s Cuirassiers formed up for their own advance, Ney’s position had finally been stabilised. The battle was without doubt bloody stalemate.
The scenario was developed using the Road to Glory Scenario System with both armies comprising 3000 points. All miniatures are from my collection and are from Heroics & Ros.
Comments
Post a Comment